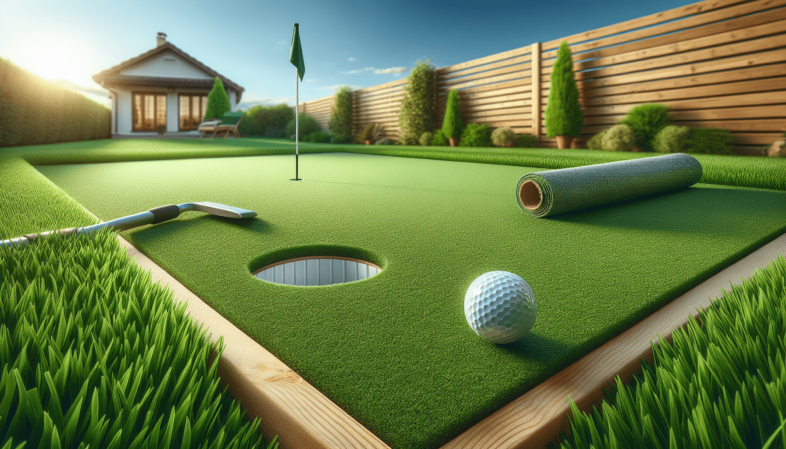
Have you ever dreamed of having a putting green right in your own backyard? Building a DIY putting green can turn that dream into reality, but it requires some planning and the right materials. Knowing what you need is the key to success, so let’s dive into the essentials for crafting your perfect putting surface.
Understanding the Basics of a DIY Putting Green
Before you gather your materials, it’s important to know the components that make up a putting green. The primary elements include a base, the putting surface, and the fringe. Each part requires specific materials and construction techniques. By breaking this down into manageable sections, you can easily understand what’s needed for each component.
The Foundation: Setting Up the Base
Creating a solid base is crucial for your putting green. This layer not only supports the putting surface but also aids in drainage and stability. Here’s what you will need:
- Excavation Tools: You’ll need a shovel, rake, and possibly a jackhammer if the soil is particularly tough. These tools help you prepare the area by digging out the topsoil and leveling the ground.
- Base Material: Crushed stone or gravel is commonly used to create a stable foundation. Ideally, a layer of 4 to 6 inches will establish a sturdy base that allows for adequate drainage.
- Geotextile Fabric: This material helps prevent weeds from growing through the base while allowing water to drain away effectively. Simply lay it over the excavated area before adding your base material.
The Core: Choosing the Right Putting Surface
After establishing a solid base, you’ll need to select the type of putting surface. This is where you develop the main area to practice your putting skills. Below are several options.
Synthetic Turf
An increasingly popular choice for DIY putting greens, synthetic turf mimics real grass while requiring much less maintenance. Consider the following:
- Quality Turf Roll: Purchase a high-quality putting green turf specific to golf. The pile height usually ranges from 0.5 to 1 inch, and look for products with a soft feel for a more authentic experience.
- Adhesive: Depending on your installation method, you may need turf adhesive to fasten edges or seams securely.
Natural Grass
If you prefer the look and feel of real grass, go for natural turf. Here are the necessities:
- Grass Seed or Sod: Choose a grass type that suits your climate. For warm climates, Bermuda grass is often recommended, while cool-season areas could use bentgrass.
- Soil: Quality topsoil ensures good growth. You might also need a soil tester kit to check pH levels and amendments that might be necessary.
The Finish: Creating the Green and Fringe
The final touches on your putting green will help define its playability and aesthetics.
Establishing the Green Area
For the actual green, you will need tools and materials that help create a smooth and firm surface:
- Hand Tools: Use a lawn roller or compactor to create a smooth surface if you’re laying sod. Rakes, shovels, and leveling tools will assist in preparing the area effectively.
- Cups and Flags: Purchase proper golf cups that you will install into the green. These come in various materials, but plastic is common for DIY projects. You’ll also want putting flags to mark your holes.
The Fringe
The fringe around the green provides a transition area that can be either grass or artificial turf:
- Turf or Grass Options: You can extend the same synthetic turf or use natural grass seed. A mix of both can also work creatively, adapting to your lawn’s design.
- Edging Material: Consider using landscape edging to define the fringe area clearly. Options include plastic, wood, or stone.
Additional Accessories for Enhanced Playability
While the main components are essential, additional accessories can improve your overall experience:
- Sand Trap Materials: If you want to take your DIY putting green to the next level, consider building a small sand trap using sand and edging for a more realistic golfing environment.
- Putting Mats: For localized practice areas, putting mats can help hone your skills without requiring extensive setups.
- Maintenance Equipment: Regular maintenance is a must, even with synthetic turf. Get a broom for brushing the turf fibers and a rake for natural grass areas to keep everything looking sharp.
Creating a Drainage Plan
One of the most crucial elements of building a putting green is addressing drainage. Improper drainage can lead to standing water, affecting playability and health of the grass or turf. Here’s what you can do:
- Slope Design: Ensure your putting green has a slight slope to aid in water runoff. Aim for a slope of about 1-2% away from the green.
- French Drains or Dry Wells: If drainage issues arise, consider installing drains at low points or creating dry wells that will collect excess water. PVC piping is a common material for building these systems.
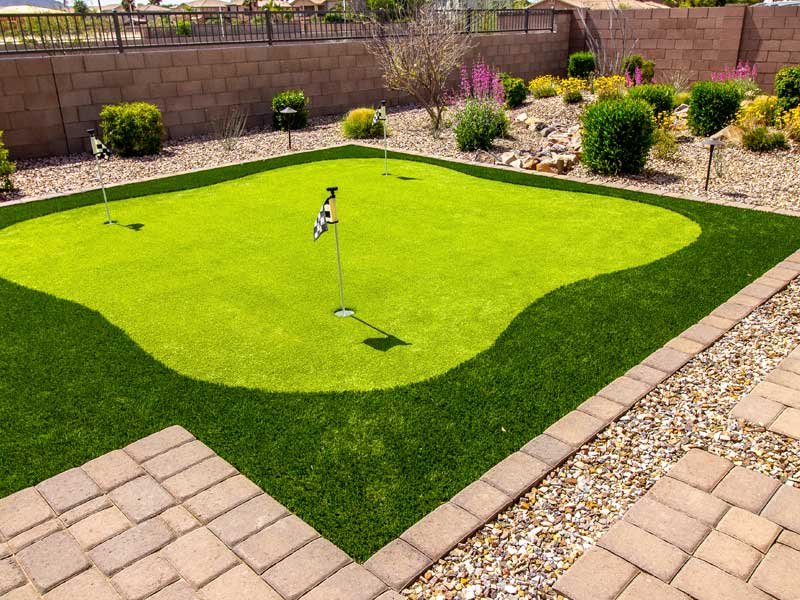
The Layout: Planning Your Green Design
Planning the layout of your putting green can enhance enjoyment and usability. Take time to sketch your design before starting construction:
- Area Size: Decide on the dimensions of your putting green. A common size for a home putting green is around 500 square feet. However, you can adjust based on available space.
- Hole Placement: Consider the placement of holes for varied practice. Avoid clustering the holes too closely together to allow for different practice scenarios.
Maintaining Your DIY Putting Green
To ensure your putting green remains in top condition, regular maintenance is required. Here are some maintenance tips to keep in mind:
- Watering: If you have natural grass, establish a watering schedule. Generally, deep watering less frequently is preferable to shallow watering more often.
- Aeration: For natural grass putting greens, you may need to aerate the soil periodically. This process involves perforating the soil to allow air, water, and nutrients to penetrate.
- Turf Care: If using synthetic turf, periodic brushing will keep the fibers upright, and you may want to use infill materials to enhance the feel and performance.
Conclusion: Your Putting Green Awaits
In summary, creating your very own DIY putting green does take some planning and materials, but the reward of having a personal putting area is well worth the effort. By knowing the types of materials needed, understanding the layout, and incorporating regular maintenance, you are well on your way to creating a fantastic practice space.
As you set out on this journey, remember that having fun is part of the process. Whether you choose artificial turf or natural grass, you will find joy in perfecting your putting skills at home. So, gather your materials, start planning, and soon you’ll be enjoying the satisfaction of sinking putts in your backyard paradise.

