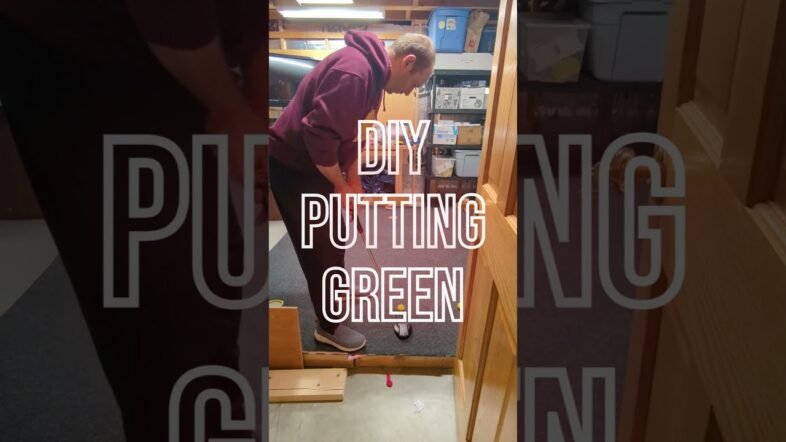
Creating your own indoor golf putting green can be an excellent way to keep your skills sharp, especially during those long, cold winters. This article explores the DIY project undertaken by Chris Eckes, highlighting everything from the size and materials used to the total cost involved. With an investment of around $300 to $350, you can have an 8 by 9-foot green complete with multiple holes to practice those crucial putting distances.
You’ll discover the simple yet effective construction techniques Chris used, even with limited DIY experience, making this project accessible for anyone. It’s all about using the right materials, like a durable carpet and foam tiles, to replicate a true putting experience without stepping outside. Whether you’re an amateur golfer looking to enhance your game or just want a fun project to tackle, this guide offers all the essential insights to make your indoor putting green a reality.
Purpose of a DIY Indoor Golf Putting Green
Building your own indoor golf putting green is a fantastic way to maintain and enhance your golf skills, especially during the long winter months. If you live in a colder climate, like Minnesota, you know how challenging it can be to keep your game sharp when the greens are covered in snow. A personal putting green provides you with the opportunity to practice your putting technique year-round, ensuring that you step onto the course each spring with confidence and precision.
Furthermore, creating a dedicated practice space at home promotes regular training for golf enthusiasts. Whether you’re a beginner hoping to develop your skills or a seasoned player looking to perfect your touch, an indoor putting green allows you to practice anytime, regardless of external weather conditions. This convenience makes it easier to work on your game consistently, ultimately leading to improved performance when you’re back on the course.
Project Overview
The primary objective of this DIY project is to create a functional and enjoyable indoor putting green that allows you to focus on your putting skills without having to venture outdoors. Having a personal putting green is incredibly important—it not only provides a space for continuous practice but also makes the game more accessible, reducing the need for frequent trips to a golf course or driving range.
When starting this project, keep in mind that minimal DIY experience is required. Many people, just like you, may feel intimidated by the idea of constructing something themselves, but with a little guidance and creativity, it’s absolutely achievable. Understanding your skill level and the resources available will help set the stage for a successful build.
Size and Dimensions
For optimal practice, the recommended dimensions for your indoor putting green are approximately 9 feet by 8 feet diagonally. This provides a comfortable space to practice various putt lengths and angles without having to worry about space constraints. In this setup, you can effectively incorporate multiple holes to add flexibility and challenge to your practice sessions.
With three separate holes positioned in different areas of the green, you can engage in varied practice scenarios that simulate real-world putting situations. You’ll find that this layout allows you to practice longer putts up to 9 feet, as well as shorter, crucial distances of around 4 to 6 feet. The versatility in hole placement is beneficial for refining different elements of your game.
Cost Breakdown
Building a DIY indoor putting green can be done fairly economically. In this case, the total estimated cost for materials and tools is approximately $300 to $350. It’s essential to break down the costs to get a clear understanding of where your money is being spent.
This cost includes various items such as lumber, carpet, foam tiles, and other necessary tools. Interestingly, material costs have changed quite a bit before and after the pandemic. For example, prices for lumber were notably lower prior to the pandemic. However, they have stabilized somewhat recently, making it a good time to start on your project.
Materials Required
In order to successfully build your indoor putting green, you’ll need a selection of essential materials. Here’s a brief overview of what you’ll need:
- Frame Construction: Use two-by-fours for constructing the base frame, ensuring stability and sturdiness.
- Base Layer: Interlocking foam tiles work incredibly well for providing a realistic feel underfoot, mimicking the experience of walking on an actual green.
- Putting Surface: Opt for specialized carpet, such as the trunk carpet from a Toyota Camry. This type of carpet has been shown to offer a quality putting surface that rolls true and smooth.
Choosing the right materials is crucial for the success of your putting green, impacting both its durability and your overall experience.
Construction Steps
When you’re ready to start building, a few basic tools will come in handy. You’ll need items such as a handsaw, a drill, screws, and nails for assembly. With these tools in hand, you can follow this step-by-step process to assemble your putting green:
- Frame the Base: Start by constructing the frame from your two-by-fours. Create a rectangular base that will support the rest of the structure.
- Lay Down the Plywood: Attach a layer of plywood on top of the frame. This will serve as the foundation for the putting surface.
- Add Foam Tiles: Next, interlock your foam tiles over the plywood. These tiles provide cushioning and help simulate a grass-like feel.
- Install Holes: Drill holes through the plywood and foam for the plastic cups. Ensure they are snug and secure.
- Cover with Carpet: Finally, lay down your chosen carpet on top of the foam layer, ensuring it adheres properly.
Throughout the construction process, remember to check for proper leveling. Using shims can help you achieve a flat surface, ensuring that your putts roll smoothly.
Green Characteristics
When designing your DIY putting green, take note of the characteristics that will enhance your practice experience. Focus on putt distances and angles to simulate real-world greens as closely as possible. For instance, your green should accommodate putts ranging from 4 to 9 feet, with the longest putt ideally being around 9 feet.
Including slight breaks in your design will help mimic the undulations of outdoor putting greens. Remember, practice isn’t just about hitting straight putts; it’s about learning to read the green and adjusting accordingly.
Maintenance and Durability
To ensure your putting green has longevity and remains a valuable practice tool, regular maintenance is necessary. This includes vacuuming the carpet surface frequently to keep it clean and free from debris, which can affect the roll of the ball.
If you’ve constructed the green using foam tiles, be mindful of how the surface feels after a move or relocation. While the green should remain intact, certain wear may occur over time; be prepared to address any issues that arise to keep your practice space in top condition.
Benefits of a Personal Putting Green
Having a personal putting green at home certainly comes with its perks! Firstly, the convenience of being able to practice whenever you’d like cannot be overstated. There’s no need to plan trips to the golf course or worry about whether the weather will permit outdoor practice.
In addition, having a space dedicated to focusing on your putting skills will likely lead to increased improvement in your game—particularly in the critical 5 to 10-foot range where many strokes occur. Potential cost savings on golf course fees can add up over time, as you’ll likely find yourself spending less on greens fees while you sharpen your skills at home.
Conclusion
In recap, building a DIY indoor putting green offers numerous benefits—from maintaining your skills during winter to creating a dedicated at-home practice space. You don’t have to be an expert in DIY projects; with a bit of planning and creativity, you can successfully embark on a similar project.
So, why wait? Your dream of a putting green at home is within reach. Not only will you enjoy the thrill of being able to practice whenever you want, but you’ll also foster a sense of accomplishment in having built it yourself. If you have any questions or ideas for future golf-related topics, feel free to reach out and share your thoughts. Happy putting!

