Have you ever wondered what it takes to create the perfect putting green right in your backyard? Imagine stepping outside and finding a beautifully manicured grass area just waiting for you to perfect your short game. Preparing the ground or base for a putting green is a step that can make or break your green!
Understanding the Basics of a Putting Green
Before you embark on your journey to build a putting green, it’s crucial to understand what makes a putting green function effectively. A well-prepared base ensures good drainage, proper turf growth, and an ideal surface for putting.
Importance of Good Drainage
A putting green that’s not effectively drained can lead to a host of problems, including pooling water and muddy patches. These issues will impact your ability to practice your putting. You want a green that drains well and allows for consistent playing conditions.
Selecting the Right Location
Choosing the perfect spot for your putting green is essential. Look for an area with sufficient sunlight, minimal shade from trees or buildings, and good air circulation. Most grasses thrive best in direct sunlight, so aim for at least 6 to 8 hours of sun exposure daily.
Step-by-Step Preparation Process
So, how do you prepare the ground for a putting green? Follow these steps to ensure that your base is just right.
Step 1: Gather Your Tools and Materials
You’ll need various tools and materials to prepare your putting green. Here’s a quick list to get you started:
| Tools/Materials | Purpose |
|---|---|
| Shovel | For digging and moving soil |
| Rake | For leveling the ground |
| Compactor | To compact the soil |
| Landscape fabric | To prevent weed growth |
| Sand and gravel | For drainage and leveling |
| Soil test kit | To test soil conditions |
| Grass seed or sod | To plant your putting surface |
Step 2: Clear the Area
Begin by removing any existing vegetation or debris in the chosen area. Use your shovel to dig up grass, weeds, and any old roots. Make sure the area is free of rocks and other obstacles as well.
Step 3: Level the Ground
Once the area is clear, you’ll want to level the ground. Rake the soil to create an even surface, removing high spots and filling in low spots. This step is essential, as it will help with water drainage later on.
Step 4: Soil Preparation
Now is the time to assess your soil quality. You might want to use a soil test kit to check the pH and nutrient levels. Based on the results, you may need to amend the soil with organic material or fertilizers to promote healthy grass growth.
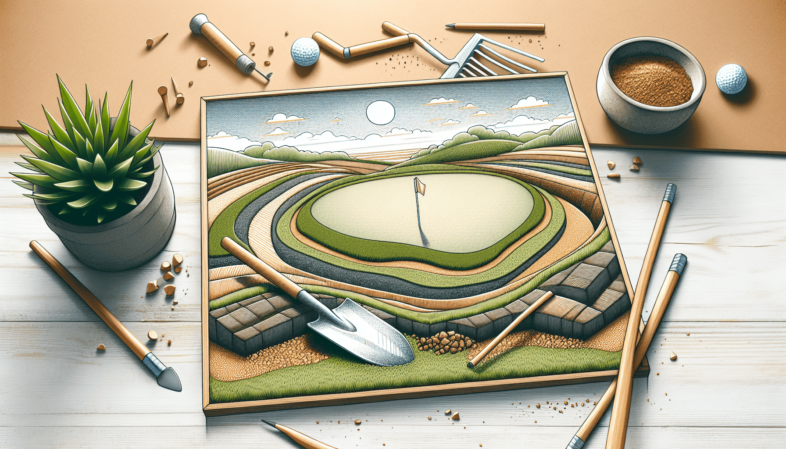
Step 5: Create a Base Layer
For proper drainage, it’s often recommended to create a base layer made from sand or gravel. This layer allows water to flow away from the root zone of the grass, preventing oversaturation. Ideally, you want about 2 to 4 inches of this base material. Use your compactor to pack this layer down firmly.
Step 6: Install Landscaping Fabric
To keep weeds at bay, lay down landscaping fabric over the base layer. This fabric will block weed growth while allowing water and nutrients to filter through to the soil underneath.
Step 7: Add Topsoil
On top of the landscaping fabric, you’ll want to add a layer of quality topsoil. This is where your grass will take root, so it’s crucial to choose good-quality topsoil blended with organic matter. Spread out about 4 to 6 inches of topsoil evenly across your area and make sure to level it out.
Choosing the Right Grass Type
Selecting the right grass type is essential for your putting green. Various grasses grow differently based on the climate and conditions in your area.
Cool-Season Grasses
If you live in a region that experiences cooler temperatures, consider using:
- Fescue: Known for its fine texture and adaptability, it performs well in cooler climates.
- Kentucky Bluegrass: Offers a lush, dense appearance, making it a favorite for putting greens.
Warm-Season Grasses
For warmer areas, opt for grasses that thrive in heat, such as:
- Bermudagrass: This grass is very resilient and creates a hard, durable playing surface ideal for putting.
- Zoysiagrass: It’s heat-tolerant and provides a thick, carpet-like feel perfect for putting.
Seeding vs. Sodding
You should also decide whether you want to grow your grass from seed or use sod.
Seeding
- Advantages: Generally less expensive and provides more options for grass types.
- Disadvantages: It takes longer to establish, and you’ll need to maintain optimal moisture levels.
Sodding
- Advantages: Gives instant greenery and is more forgiving in terms of moisture control.
- Disadvantages: More expensive upfront and may be less adaptable if not suited to your growing conditions.
Maintenance Tips for Your Putting Green
Once your putting green is established, regular maintenance is key to keeping it in optimal condition.
Watering
Proper watering is vital, especially in the initial stages of growth. Keep the soil consistently moist but not soggy. As grass establishes, you can reduce the frequency and the depth of watering.
Mowing
Regular mowing is necessary to keep your putting green at the perfect height. For most grasses, maintaining a height of 1/4 to 1/2 inch works best for putting greens.
Fertilizing
Applying fertilizer at regular intervals will nourish your grass and promote healthy growth. Aim for timing your fertilization with the growing season of your local grass type.
Aeration
Aerating your putting green once a year helps relieve soil compaction, allowing air, water, and nutrients to penetrate the soil effectively. You can rent an aerator or do it manually.
Pest and Weed Control
Keep an eye out for weeds, pests, and diseases. Applying a pre-emergent weed killer can prevent unwanted growth, and monitor for any signs of pests that could harm your grass.
Common Challenges and How to Overcome Them
Building and maintaining a putting green comes with its challenges. Here’s a look at some common problems and solutions.
Poor Drainage
If you notice standing water on your green, this can lead to serious issues. Fix it by re-assessing the drainage layer. You may need to dig further down to incorporate more gravel or sand.
Thinning Grass
Over time, you might find some areas of your putting green are starting to thin out. This can usually be remedied with overseeding, adding new grass seeds to encourage thicker growth.
Pest Infestations
Insects can wreak havoc on your putting green. Treat infestations quickly with appropriate insecticides or consider using natural deterrents like neem oil.
Conclusion
Preparing the ground for a putting green can seem daunting, but with the right steps, tools, and knowledge, you can create a fantastic surface to hone your putting skills. Bear in mind the importance of proper drainage, good soil preparation, and regular maintenance. Before you know it, you’ll have a beautiful green right in your backyard, ready for those sunny afternoons of practice. So get your tools ready and start planning your dream putting green!

