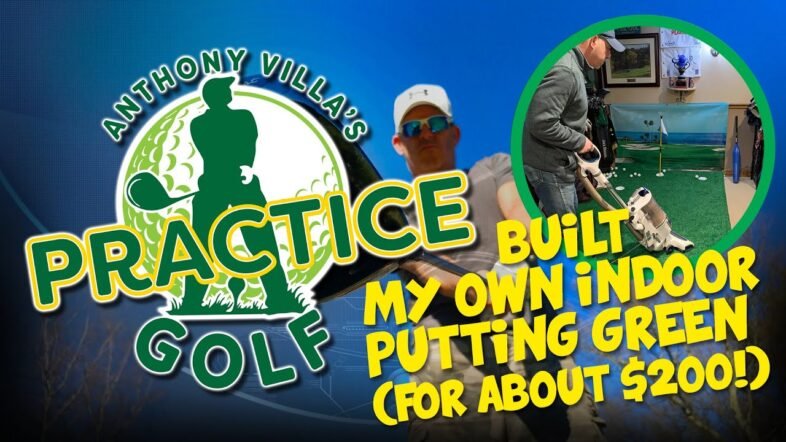
Creating your very own indoor putting green can be an exciting DIY project that brings a touch of golf right to your home. With just a little creativity and around $200, you can transform a small space into a personal putting oasis, complete with all the features you need to work on your game. This article walks you through the process, from gathering materials to the final touches, ensuring that you have everything you need for a successful build.
Learn how to construct a functional and aesthetically pleasing putting surface that suits your unique space, no matter how small. With tips on selecting the right materials, ensuring proper surface alignment, and even lighting up your new green, this project is not only enjoyable but also practical for any golf enthusiast looking to practice at home.
Why Create an Indoor Putting Green
Creating an indoor putting green can be one of the most rewarding DIY projects you undertake as a golf enthusiast. It doesn’t just provide the opportunity to practice your putting; it adds a sense of fun and accomplishment to your home. Here’s why you should consider this fantastic addition to your space.
The benefits of practicing indoors
Practicing indoors offers a unique advantage. You can train regardless of the weather. Rain, snow, or extreme heat will no longer be an excuse for not practicing your putts. You can hone your skills every day, sharpening your abilities and improving your overall golf game. Indoor putting greens allow you to focus on your technique and refine your stroke without distractions.
Enhancing your golf skills year-round
One of the most crucial aspects of improving at golf is consistent practice. Having a putting green at home means you can engage in focused practice sessions whenever you have free time. You can work on your short game and get instant feedback on your shots. Plus, with the right setup, you could look forward to lower scores on the golf course by developing more confidence in your putting skills.
Creating a fun and relaxing space at home
Beyond the practical advantages, an indoor putting green offers a unique place to relax and entertain. You can invite friends over for mini-golf competitions, or simply enjoy a peaceful moment working on your game. It’s a great way to create a hobby space in your home that brings joy and excitement, turning ordinary days into opportunities for fun!
Planning Your Putting Green
Planning is critical to ensure your indoor putting green meets your needs and fits well in your space. Here are the key considerations in planning your green.
Assessing available space
Before you start all the fun building projects, it’s essential to assess the space you have available. Measure the area where you’d like to place your putting green, keeping in mind any nearby furniture or obstacles. Ensure you have enough room for putting and for movement. This will help you determine the size and layout of your green.
Determining the dimensions of your green
Once you know how much space you have to work with, you can decide the dimensions of your putting green. A common small putting green can be around 6 feet by 10 feet, but you can adjust the size to fit comfortably in your chosen area. Think about how many cups you want and how much room you need for practice.
Layout considerations for optimal use
Consider how you want the main features of your putting green to be laid out. Do you want multiple holes? Should there be slopes or undulations? Sketch out your ideas or use design software to visualize the setup. An optimal layout will ensure that your putting practice feels interesting and engaging.
Materials Required for Construction
Now that you have a plan, it’s time to gather the materials. Here’s a breakdown of what you’ll need.
List of essential materials
To build your putting green, you’ll need:
- 2×3 wood for the frame
- OSB plywood for the surface
- Artificial grass
- Finishing nails and screws
- Cups for the putting holes
- Stapler and staples
Choosing the right type of wood
When picking wood for the frame, look for sturdy and durable options. The 2×3 lumber is an excellent choice, as it provides sufficient strength while also being relatively inexpensive. This will give your green the structure it needs while keeping costs down.
Recommendations for artificial grass
For the grass surface, seek out artificial turf that mimics real greens and has the right stimp meter rating for a smooth roll. You can find affordable options at home improvement stores or online. Aim for grass that is easy to clean and has a realistic look and feel.
Building the Frame
Now comes the fun part: building the frame for your putting green! Here’s how to do it step by step.
Cutting wood to size
Start by measuring and cutting your wood to the lengths determined during your planning phase. Use a saw to make precise cuts, ensuring all pieces will fit together snugly.
Assembling the frame structure
Once you’ve cut the wood, it’s time to assemble the frame. Begin by laying out the pieces in the correct shape and link them together using finishing nails. This initial structure will support the surface of your green.
Securing the frame using finishing nails
After aligning the pieces, secure them firmly in place using a finishing nailer. This will provide a stable base for your green and create a solid foundation that can withstand your practice sessions.
Laying the Surface
With the frame constructed, you’ll now lay the surface for your putting green.
Installing OSB plywood for stability
Lay down the OSB plywood sheets over your frame to create a solid surface. Make sure to cut the sheets to fit well within the frame. This flooring will provide the stability needed for consistent putting practice.
Screwing down the surface for easy disassembly
To secure the surface, use deck screws to attach it to the frame. This method not only ensures stability but also allows you to disassemble the putting green easily if necessary. It’s a great way to save the integrity of the overall structure.
Ensuring a level playing area
After securing the surface, double-check to ensure everything is level. An even surface is essential for a good putting experience. You can use a level tool for accuracy, adjusting as necessary to correct any uneven areas.
Choosing and Installing the Grass
Now, let’s give your putting green a realistic look by installing the artificial grass.
Finding affordable artificial grass
Visit your local home improvement store or browse online for affordable artificial grass options. Look for materials that are designed specifically for putting greens, as they will provide the best playing surface.
Tacking down the grass securely
Once you’ve secured the grass, use a staple gun to tack it down along the edges and across the surface. This ensures that the grass lays flat and won’t lift up during use.
Understanding grain direction for ball roll
When laying down the artificial grass, pay attention to the grain direction. The grain needs to align in the direction you plan to putt to ensure the ball rolls smoothly. Test putting the ball to gauge how it rolls and make adjustments if necessary.
Creating Putting Cups
Now you’ll need to create the holes where you’ll aim to sink your puts.
Finding suitable cup options
You can purchase shallow depth cups specifically for putting greens, or consider makeshift options, like plastic drain cups from a home improvement store. Look for cups that fit snugly into your green.
DIY solutions for raising the cups
To make the putting cups functional, you may need to raise them slightly above ground level. Using small wooden blocks, you can create a sturdy platform for the cups. Ensure they are secured and level to provide a uniform putting experience.
Adjusting heights for better gameplay
Once the cups are in place, you might find you need to adjust their heights for optimal gameplay. Some DIY solutions can involve adding or shaving down the wooden blocks under the cups. You want everything to be level for consistency.
Adding Decorative Touches
Make your putting green visually appealing by adding some personal touches.
Trimming the edges for a finished look
Once the grass is laid and the cups are installed, trim the edges of your green for a sleek, polished appearance. This can be achieved with PVC baseboard trim or similar materials.
Installing a flag for added authenticity
Adding a flag to your cups can increase the realism of your indoor putting green. You can purchase golf flags online or at sporting goods stores and place them in each cup for a professional touch.
Incorporating personal design elements
Feel free to add personal elements that reflect your style. Whether it’s your favorite colors, team logos, or additional decor, making the green reflect your personality adds joy to using it.
Installing Lighting for Ambiance
Let’s make your green usable at any time, day or night, by adding some lighting.
Choosing LED lights for visibility
Opt for LED lights, which are energy-efficient and effective for illuminating your putting green. Their bright lights can make it easy to see while you practice.
Drilling holes for light installation
Drill holes to securely install the lights around the edges of your green, ensuring the light shines both across the green and into the cups for enhanced visibility.
Positioning lights for optimal effect
Position the lights to highlight the whole area, focusing particularly on the putting space. Good lighting can create a warm atmosphere and encourages you to spend more time practicing.
Conclusion
Creating an indoor putting green is a rewarding DIY project that enhances your home experience and your golf skills.
Reflecting on the DIY experience
This journey of creating your own green allows you to express your creativity while honing your skills and artistry. You’ll take pride in seeing the fruits of your labor each time you practice.
Encouragement for others to try building
If you’ve been thinking about adding your own putting green, don’t hesitate! Gather your materials, make a plan, and start building. You’ll find the journey enjoyable and the end result immensely satisfying.
Benefits of having a personal indoor putting green
Not only will an indoor putting green improve your golf skills, but it also provides an excellent space for relaxation and fun. The laughter, challenges, and memorable moments shared with friends and family will be priceless. So go ahead, take the plunge, and enjoy the benefits of your personal putting paradise at home!
